
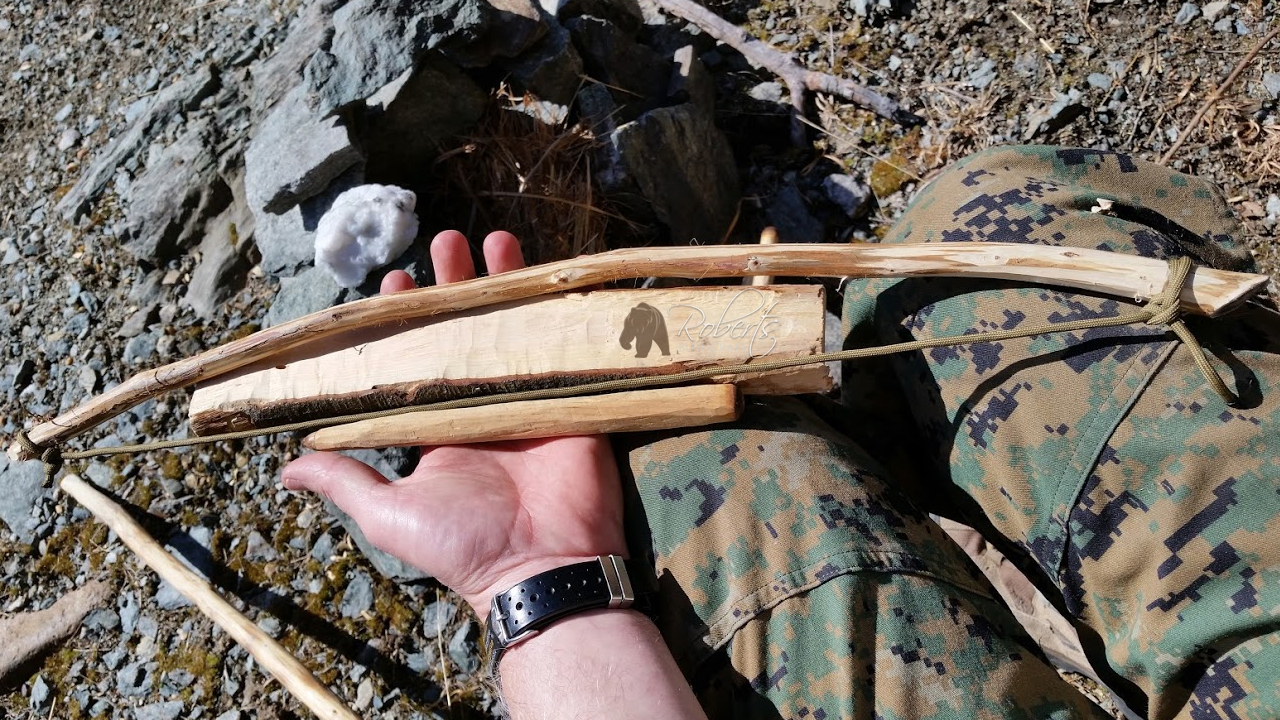
A bow drill set includes a hearth board, a drill, a bow with string, a bearing block, an ember collector or pan and dry tinder. Over the years of fussing with friction I have found that there are two types of wood that work best for me.
The eastern white pine and the red cedar trees are very common here in eastern North Carolina and in my opinion are second to none when it comes to the bow drill. I have had great success creating an ember using white pine on white pine, cedar on cedar as well as white pine on cedar and cedar on white pine.
How to assemble the bow drill
The drill (also referred to as a spindle) is twisted into the bow and is held with downward pressure between the hearth board and bearing block. The hearth board is held securely to the ground with your foot and the bearing block is held in the palm of your hand. The bow drill kit is then tightly pressed against your shin with your wrist, locking it in place.
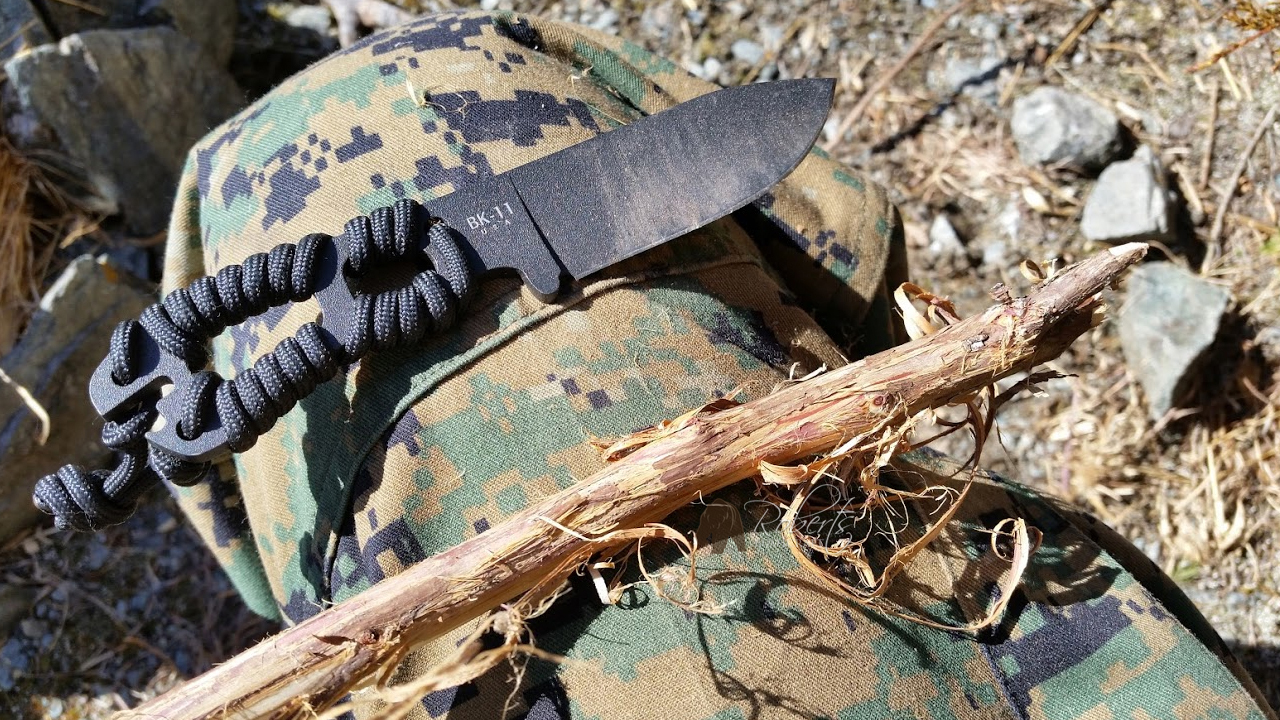
I used an old dead limb from a red cedar tree and 550 paracord for my bow. The tinder bundle was built using the bark shavings.
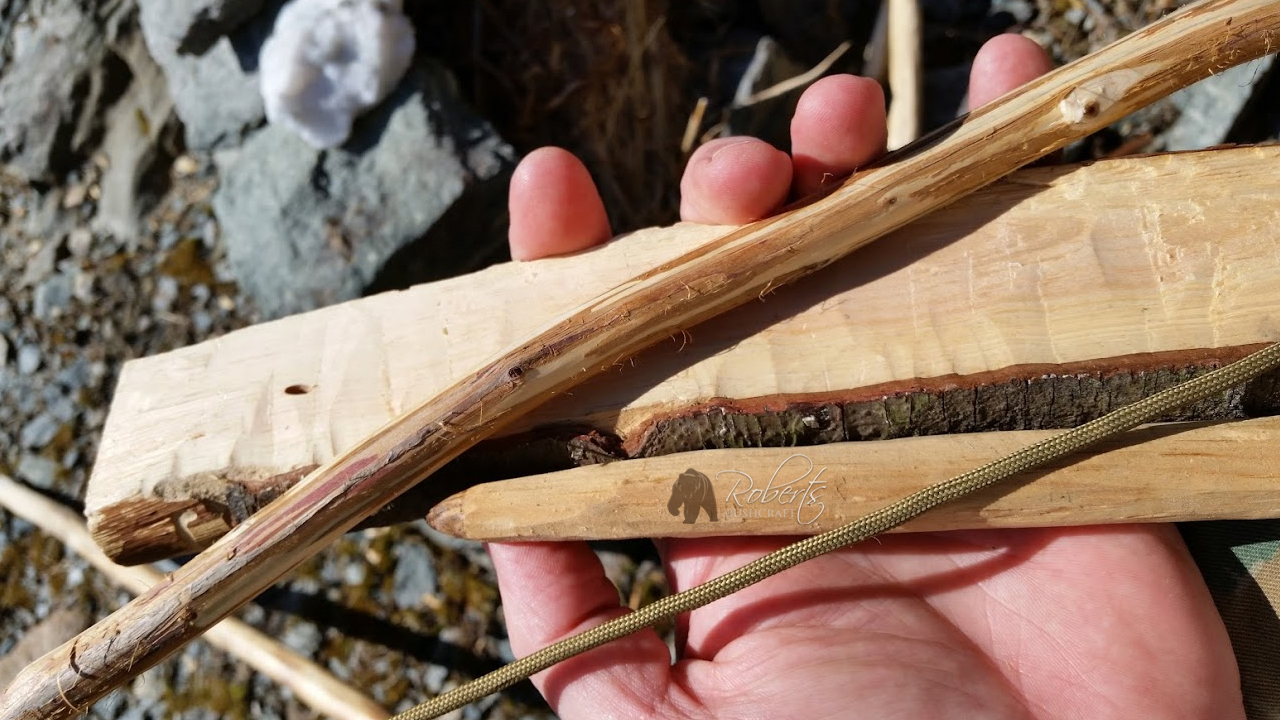
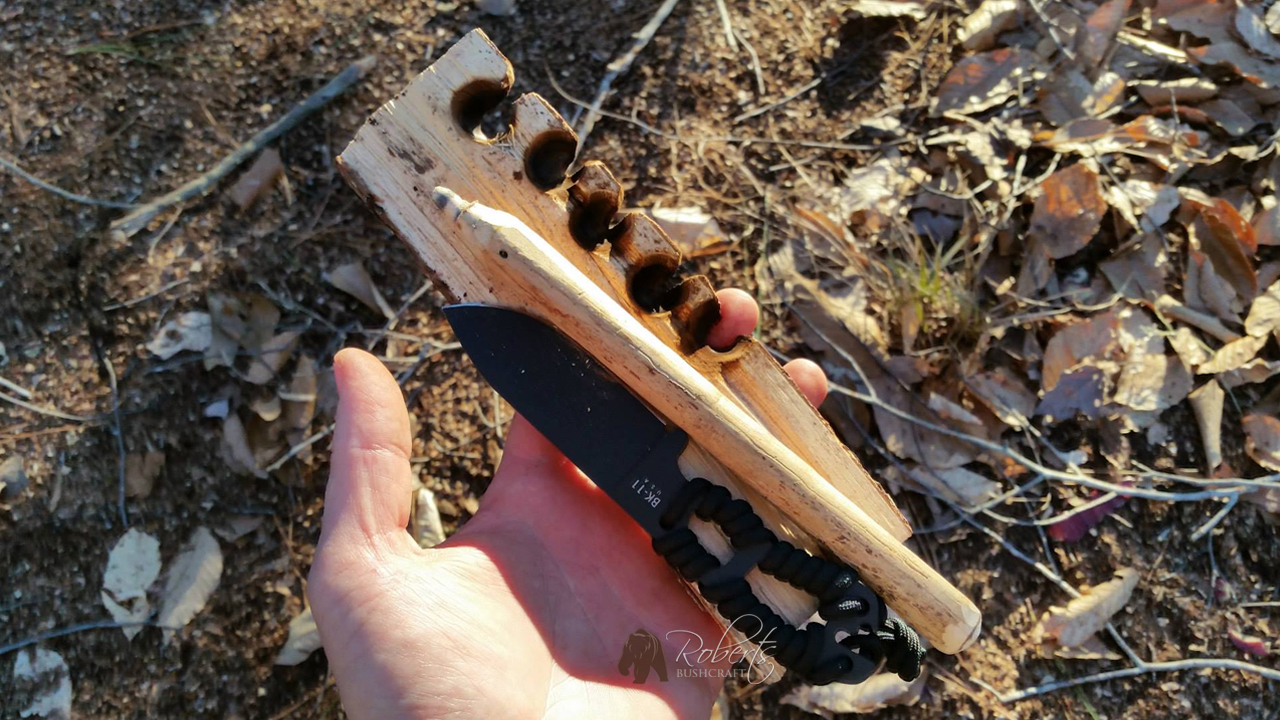
The hearth board and drill (spindle) were carved from a dead white pine limb. The hearth board pictured is roughly 10-12 inches long, about 3 fingers wide and 1/2" deep. The drill is about 8" long and only a bit larger diameter than my middle finger.
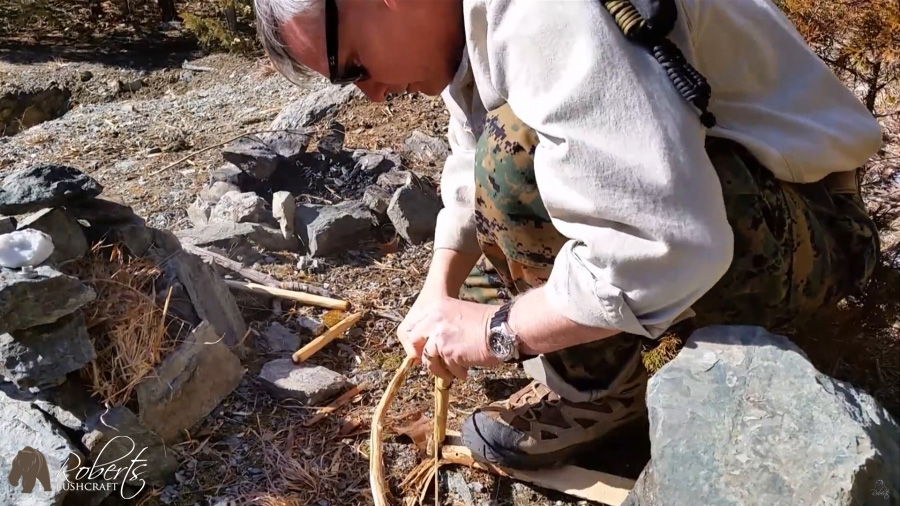
How to use the bow drill
With the drill twisted into the bow, the bearing block in hand and locked into place on your shin it's time to burn in the heart board. Moving the bow backwards and forwards rapidly makes the drill spin and rub against the hearth board causing tremendous friction. Apply steady downward pressure as you pick up your speed and smoke should begin to rise from the hearth board.
Keep in mind that the burn-in process is only to create a better hole for seating the drill and not creating an ember. The burn-in process time can vary for different reasons; user skill level, dryness of wood, to mention a few. A good indication the process is over is when your burn-in hole is roughly the diameter of your drill and is blackened from friction. The bottom of the drill will likewise be blackened.
The completion of the burn-in marks the beginning of cutting out a v-shaped notch in the hearth board. This is where a small pile of black charred dust collects underneath the drill. The dust eventually gets hot enough that it ignites and begins to smoulder. The resulting ember is then added to the tinder bundle and blown until it bursts into flames.
